How to install wallpaper like a pro
2023-11-21

Embarking on the journey of wallpapering is not just a home improvement project; it’s an opportunity to transform your space into a haven of style and personality. Whether you’re a seasoned DIY enthusiast or a first-time decorator, this detailed step-by-step guide aims to provide comprehensive insights, ensuring a seamless and successful wallpaper application. Before you dive into this creative endeavor, consider the following extended tips for an enriched wallpapering experience.
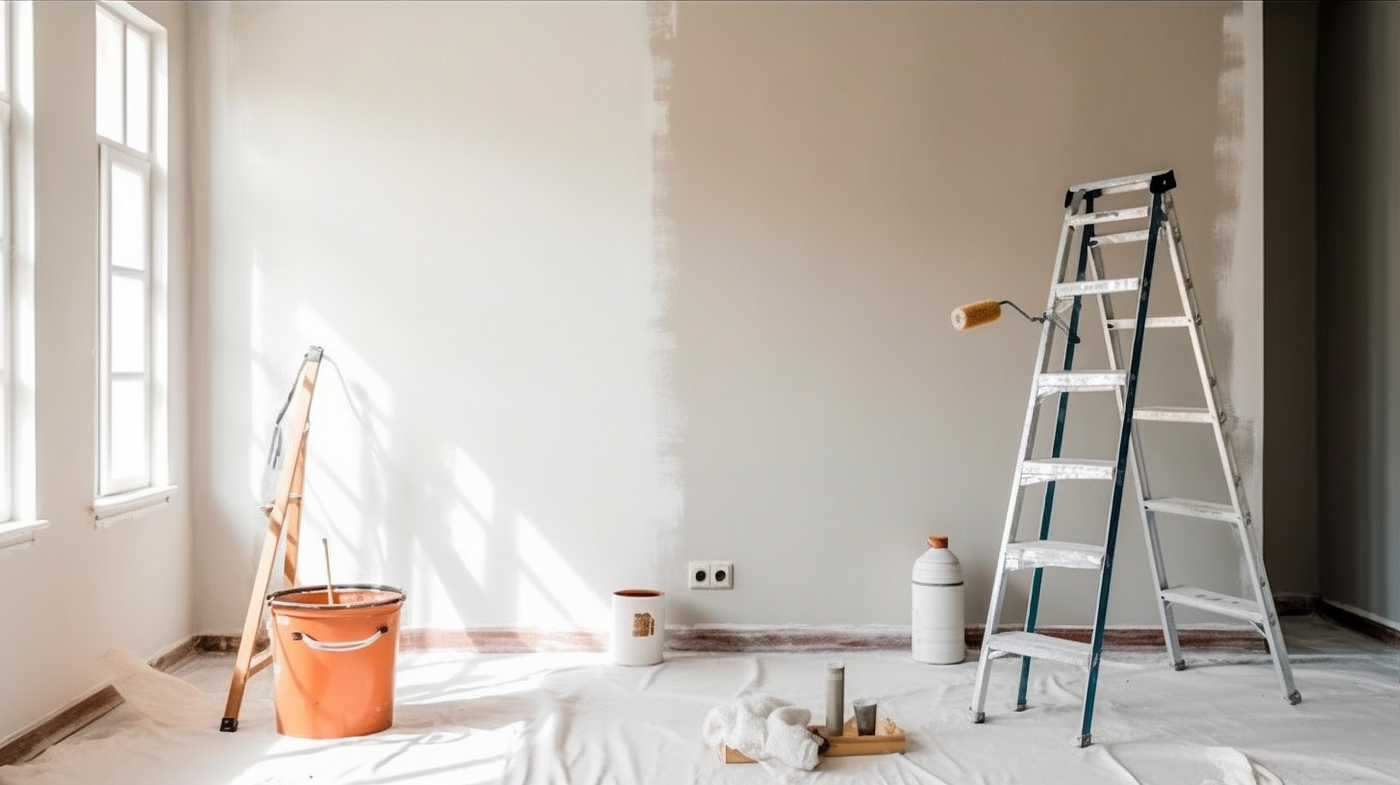
Before you start ensure Surface Protection:
- For rental properties, applying a layer of wall sealer is advisable to protect the original surface.
- Alternatively, opt for a paper-backed material for easy removal in the future, preserving the integrity of the underlying wall.
- Beyond unpacking the wallpaper, “Familiarize Yourself with the product”, take time to understand its characteristics and nuances. Read labels and accompanying instructions thoroughly to anticipate potential challenges.
Gather the Right Tools:
Here are some tips on the tools you may need for this project:
- Wallpaper Smoother or Brush
A broad rubber smoother, or flat brush with soft bristles for not only smoothing out bubbles but also ensuring optimal adhesion.

2. A 9mm Snap off Knife or Wallpaper Scissors:
A precision cutting tool for trimming excess wallpaper at corners, edges, and around fixtures.

3. Seam Roller:
Essential for achieving seamless finishes by pressing down seams between wallpaper strips. You can use the corner of the smoother if you wish

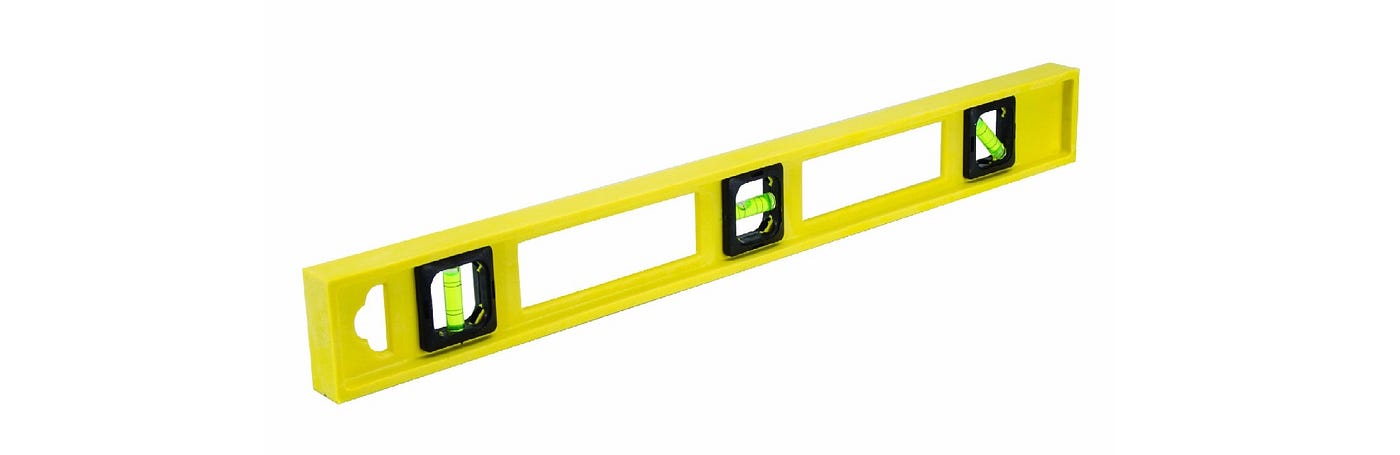
4. Level and Tape Measure :
To guarantee that your wallpaper is applied straight and aligned properly.
5. Bucket and Sponge:
For efficient cleaning of excess adhesive and wiping away any glue residue.
6. Pencil and Straight Edge:
You will need the pencil tp draw marking guidelines on the wall, ensuring a straight and even panel application. You can use the level as a straight edge to draw vertical lines 0.5cm from the edge of the panel

7. Wallpaper Adhesive:
Brands We Recommend:
- Dynamic Clear Wallcovering Adhesive

- Roman 880 Clear Wallcovering Adhesive

- Dynamite 234 Clear Wallcovering Adhesive

8. 5mm-7mm Paint Roller and Paint Tray:
You will need these tools to mix the glue and add it to the paint roller.

Align, Cut and Check:
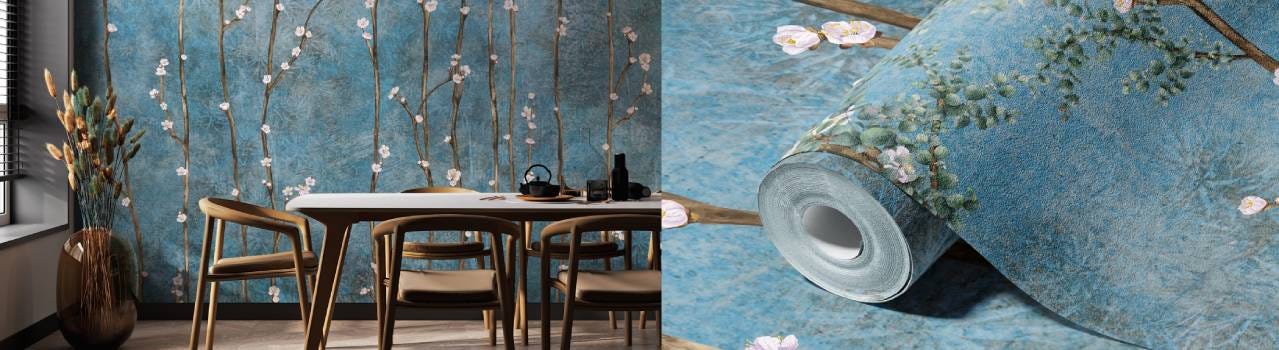
After reading the labels and checking if all tools are available, it’s time to lay out the paper on a table, or on a clean floor and match the patterns to the height of your wall.
This step could also be done on the wall once you get the hang of the product specific weight, width, pattern match and wastage
Professional notes:
- Matching the pattern step before adhesive is Especially crucial for murals or intricate patterns. Meticulously cut lengths at markings and lay them out directionally.
- Ensure pattern continuity and address any edge variations promptly, seeking assistance from Elegance Wallpaper Team if necessary.
Measure the first panel:
Now using your measuring tool or tape, measure the width of the wallpaper roll, and add 0.5–1 cm or 1/8th of an inch.
Take that new summed measurement and go to the wall, measure from the edge and draw three points one near the ceiling, one near the middle, and one near the bottom.
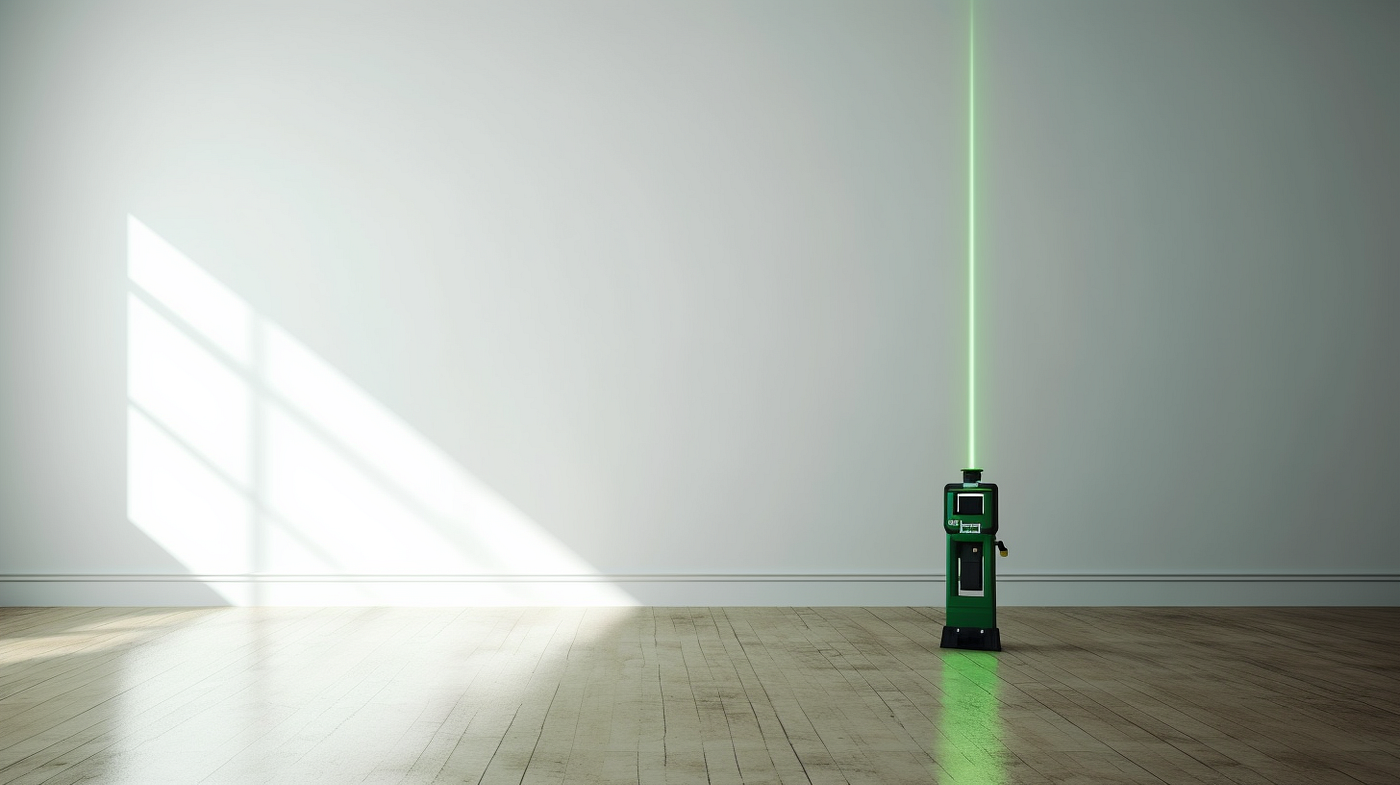
Now pick up you level, or straight edge and draw a vertical line from ceiling to floor (or baseboard)
For Example if your roll width is 53cm, add 1 cm, so basically draw a light straight line with the pencil at 54cm to use as a guide to keep the first panel straight.

(A Laser level can definitely perform the same task with ease)
Start Putting the Adhesive:
Now we got a straight line on the wall, we need to starting putting the Wallpaper Adhesive on, there are two ways of doing this step in most cases; and it is also dependent on the manufacturer instructions;
First method; Gluing the wall, some manufacturers advise installers to glue the wall and then adhere the paper to it.

Second Method; Gluing the paper, some manufacturers advice installers to glue the paper and then adhere it to the wall
Step 1: Empty half gallon of your favorite adhesive or the adhesive was provided by the manufacturer into the Paint Tray
Step 2: Roll the roller into the adhesive, then roll it out towards the grove area of the tray to get rid of the access glue
Step 3: In case you are adding glue to the wall then: Using the adhesive roller Cover an area at least 5 inches wider than the drawn line (width of the wallpaper). Roll slowly and evenly and ensure every inch is covered.
Similarly, if you are gluing the back of the paper, then try to spread a thin and even layer of adhesive.
Pro Tips:
- Adding the adhesive to the backing of the paper, usually done with a wallpaper adhesive machine and it results in much more even dispersing of the adhesive
- Add a tarp or plastic drops in the areas you are working to avoid any adhesive splashed
- Most Patterns work from left to right, but this is not a rule check the manufacturer instructions
Now on to Wallpapering:
Step 4: Starting with the first panel (Some people call it drop, some call it sheet) whatever you call it, is the first cut of your roll that is going on the wall,

Here is the tricky part: Begin from the ceiling, and the edge of the wall, whether left or right, align the edges of the paper with the edge of the ceiling and the side wall, and push with your palms to smooth the bubbles out until you have an area about two feet stuck on the wall.
Now move to the bottom of the (panel) and align the edges with the baseboard or floor or whatever the end of your wall
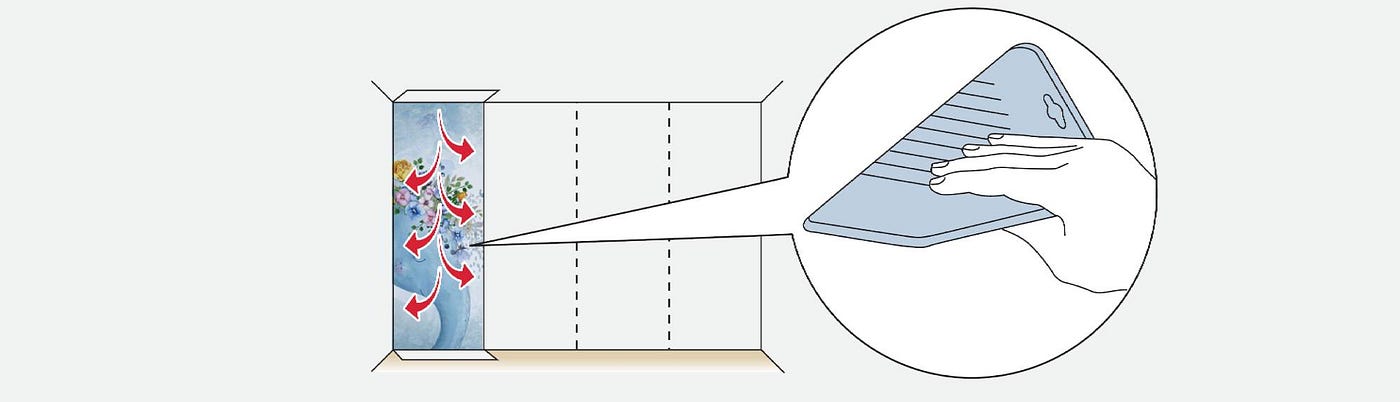
Step 5: Now using the Rubber Smoother or Brush, start sticking the paper from the top downwards the bottom section.
Step 6: Now with the palm of your hand feel the entire panel and make sure there are no more bubbles left.
use the smoother and push it towards the nearest edge except the seam
Step 7: Glue the area for the next panel, using the same technique, now you see why we added extra 5 inches of glue? To avoid touching the installed panel with the Glue roller or brush.

Step 8: Bring up the next panel, similarly, starting from the top, we have to align the pattern perfectly, slowly with your hand match the pattern from top to bottom and push the air to the opposite side.
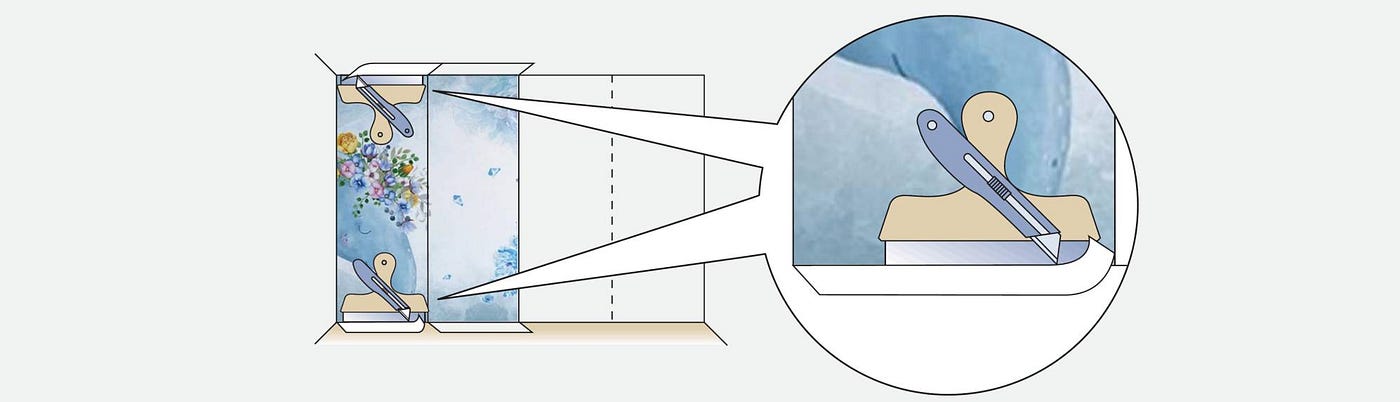
Step 9: Trim the Excess from the top and bottom using a straightedge and a snap off knife
Once all the seam is aligned, now using your smoother of choice smooth all the air and excess glue out toward the open side, bottom or top, DO NOT push any air or glue toward the seam.
Step 10: Using a damp sponge, clean any glue that might touch the front of the paper.
Pro tip: Use microfiber cloth to dry the wet areas to ensure no glue residue left after the sponge.
Final Note: Allow the wallpaper to dry completely before replacing furniture or decorations. This can take anywhere from a few hours to overnight, depending on the type of wallpaper and the humidity in the room.
In conclusion, installing wallpaper can be a fun and rewarding DIY project that can transform the look of a room. By following these steps, you can install wallpaper like a pro and create a beautiful, personalized home that reflects your unique style and taste. Remember to take your time, measure carefully, and choose the right wallpaper for your space. With a little patience and attention to detail, you can achieve a professional-looking finish that you will be proud of for years to come.
Subscribe to our newsletter